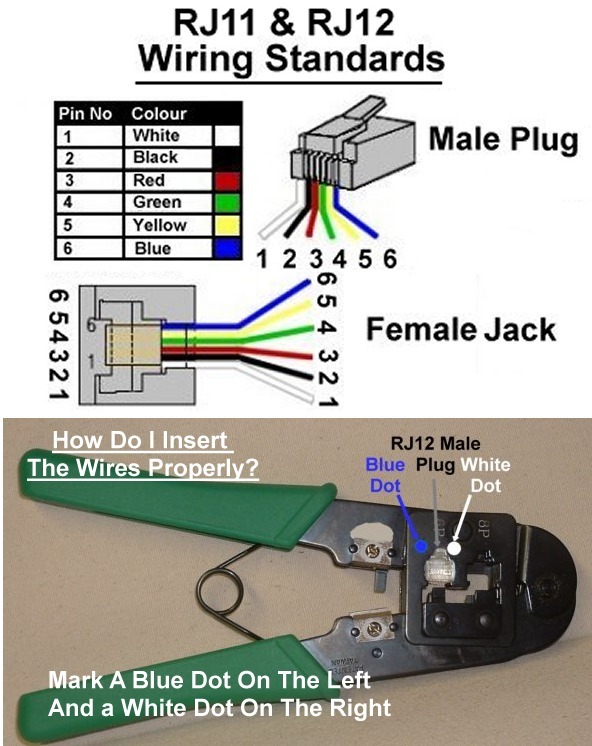
Custom Signals has a nice plug-n-play grade crossing signal, complete with signal masts and circuitry. In addition to the prototypical pause of the LEDs in their flash cycle, I particularly like the fact that the wiring for the masts is an RJ12 telco plug that plugs into an on-board jack on their GCF-1 printed circuit board.

The wiring of the signal mast is very easy to follow. The LEDs are wired in an "X-pattern" so that they flash on-and-off prototypically as shown in the schematic below. First the ones on the left (when facing the fronts of the signal mast), then the ones on the right (when facing the fronts of the signal mast). Just like the real thing. And there's that nice pause in each light as the other light starts to light up.

Only one problem. The signal mast is O-scale which is kind of tall for anyone in HO or N. So how could we use the nice Custom Signals circuitry on the GCF-1? The answer is very simple. NJ International (NJI) makes a series of grade crossing signal masts that are wired common anode (positive) which is the same return polarity as the GCF-1.
The NJI signal mast is nicely proportioned and pre-wired with two 150 ohm resistors. With the same common anode (positive) return polarity as the Custom Signals GCF-1 flasher unit, this should make a good pair.
The first step was to determine which wires lit up the LEDs - ie which wires were negative and which wires were positive. One of my "testing utilities" is a 9-volt battery with alligator clips soldered to the ends of the wires. In between the battery and the clips is an SPST on-off switch and a resistor. Whenever I want to test the polarity of an LED, I simply clip the clips onto the LED and flick the switch. If it lights up, a quick glance at the symbols on the side of the battery tells me which wire is negative (cathode) and which wire is positive (anode). As it turns out, the black wire is positive (anode) and the two white wires are negative (cathode). Here's a schematic of the wiring for the NJI grade crossing signal mast.

With the wiring problem out of the way, we next turned our attention to detecting the presence of a train.
The Custom Signals GCF-1 is designed for 3-rail O-gauge so the on-board detector is not compatible with HO or N-scale DC or DCC. As I'm into Digitrax DCC, I needed a detector that would work with DCC. North Coast Engineering (NCE) makes a nice BD20 block detector that is based on the current flow through a small toroid transformer. Adding the detector to the module would be a very simple job - simply cut the track feed to the insulated block that defined the grade-crossing signal zone, thread the wire once through the donut-hole in the detector and resolder the wire back to the other end of the track feed. The detector is so sensitive that all it needs is for the wire to pass through the donut-hole only once and not the 3-4 times shown in the schematic below. Having looked at the BD20 brochure, it was easy to determine the connections we had to make back to the GCF-1.

However, before we started the install, we took a one-inch long 3/8" diameter wooden dowel and drilled a 3/16" hole through the middle. We then threaded the 3 wires (two white, one black) through the hole and epoxied the signal mast to the wooden dowel. abc